Discover the Science of Gemstones: Master the Gemstone Identification Chart
Using a gemstone identification chart is the key to unlocking the secrets of your stones, and it's much simpler than it looks. These charts rely on a few core properties—like hardness, color, streak, and specific gravity—to help you pinpoint exactly what you have.
How To Use A Gemstone Identification Chart
A gemstone identification chart is a powerful tool for hobbyists and budding gemologists alike. It's a reference guide that lists various gemstones and their key identifying properties. At first glance, the columns of data and scientific terms can seem intimidating, but learning to navigate this chart is the first step toward accurately identifying mysterious stones. The process involves systematically testing a gemstone for specific characteristics and cross-referencing your findings with the data on the chart to narrow down the possibilities until you find a match.
Think of it like being a detective. You gather clues from the gemstone—its color, how it interacts with light, its density—and then compare those clues to a database of known "suspects" (the gems on the chart). This guide will break down the most important properties on these charts and explain how to use them to unlock the identity of your treasures.
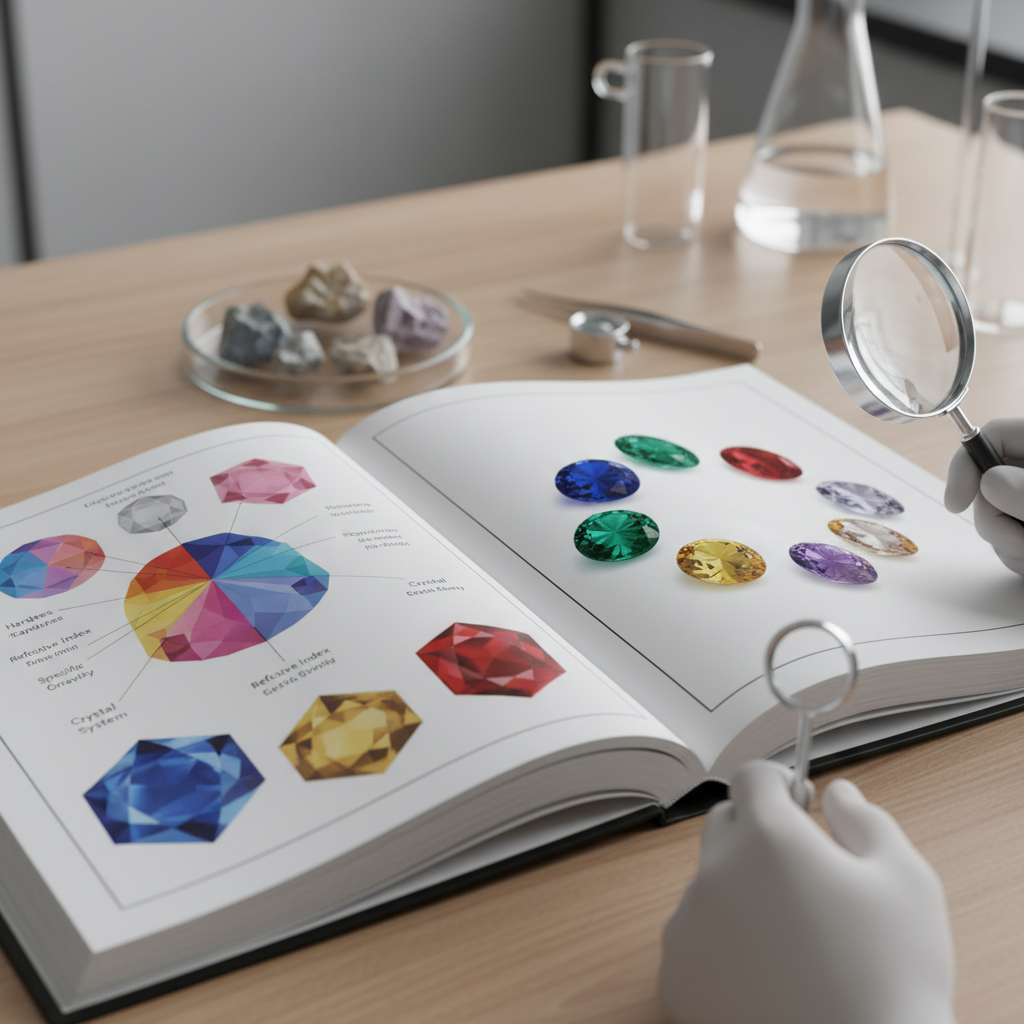
Understanding the Key Properties on a Gemstone Chart
A standard gemstone chart is organized into columns, with each column representing a specific physical or optical property. To use it effectively, you need to understand what each of these properties means and how to measure it.
1. Color
While it may seem like the most obvious characteristic, color is often one of the least reliable identifiers when used alone. Many different gemstones can share the same color. For example, a red stone could be a ruby, a spinel, a garnet, or even red tourmaline. A chart helps by listing the typical range of colors for each gemstone. This is a good starting point but should never be your only data point.
When using the color column, note the primary hue (e.g., red, blue, green), the tone (how light or dark it is), and the saturation (the intensity of the color). Some charts will also mention phenomena like pleochroism, where a gem shows different colors when viewed from different angles. This initial observation helps you narrow down the potential candidates on your chart before moving on to more definitive tests.
2. Refractive Index (RI)
The Refractive Index is one of the most crucial properties for gem identification. It measures how much a beam of light bends as it passes through the gemstone. Every gemstone has a characteristic RI, and this measurement is usually very precise. This property is measured using a tool called a refractometer. You place the gem on the device, and it gives you a reading on a scale.
On your identification chart, the RI will be listed as a specific number or a small range (e.g., Diamond is 2.42, Quartz is 1.54-1.55). Some gems are "doubly refractive," meaning they split light into two rays, so they will have two RI values listed. Comparing your refractometer reading to the values on the chart is a highly accurate way to distinguish between stones that look similar, like a diamond and a cubic zirconia.
3. Specific Gravity (SG)
Specific Gravity is essentially a measure of a gemstone's density. It compares the weight of the gemstone to the weight of an equal volume of water. For example, a gemstone with an SG of 3.0 is three times denser than water. Like the Refractive Index, SG is a consistent property for each type of gem and is extremely helpful in separating look-alikes.
This property is measured using a special scale through a process called hydrostatic weighing. The chart will list the SG for each gem (e.g., Diamond is 3.52, Quartz is 2.65). If you have two stones that are the exact same size but one feels noticeably heavier, it's because it has a higher Specific Gravity. This test can easily help you differentiate between a heavy sapphire and a lighter iolite of the same size and color.
4. Hardness
A gemstone's hardness refers to its resistance to being scratched. This is measured on the Mohs Hardness Scale, which ranks minerals from 1 (Talc, the softest) to 10 (Diamond, the hardest). A mineral can scratch any other mineral with a lower number on the scale. For example, Quartz (hardness 7) can scratch Fluorite (hardness 4), but Fluorite cannot scratch Quartz.
You can perform a simple scratch test using a hardness test kit, which contains a set of "picks" with tips made of minerals of known hardness. By carefully trying to scratch an inconspicuous part of your gemstone, you can determine its place on the Mohs scale. Your identification chart will list the Mohs hardness for each gem, allowing you to quickly rule out many possibilities based on this single test.
5. Crystal System
If you have a rough, uncut stone, its natural crystal shape can be a major clue. Minerals crystallize into one of seven geometric systems: cubic, tetragonal, hexagonal, trigonal, orthorhombic, monoclinic, and triclinic. For instance, garnets and diamonds form in the cubic system, often creating cube-like or dodecahedral shapes. Quartz and emeralds form in the hexagonal system, producing six-sided prisms.
A gemstone identification chart will have a column dedicated to the crystal system. While this is less useful for cut and polished stones where the original shape is gone, it can be a definitive identifier for raw crystals. Observing the fundamental shape and angles of an uncut stone and matching it to the crystal system on the chart can significantly narrow your search.
The Science Behind Gemstone Properties
The identifying characteristics listed on a gemstone chart aren't random; they are the direct result of a stone's chemical composition and internal crystal structure. Understanding the "why" behind these properties provides a deeper appreciation for the science of gemology. For instance, a gemstone's crystal structure—the orderly, repeating arrangement of its atoms—is what dictates many of its key features.
The Mohs hardness, for example, is determined by the strength of the atomic bonds within that crystal lattice. Diamond is a 10 on the scale because its carbon atoms are linked in an incredibly strong and rigid tetrahedral network. In contrast, the atoms in Talc are arranged in weak sheets that slide past each other easily, making it the softest mineral. Similarly, the way light interacts with this atomic structure determines the Refractive Index. The denser the atoms are packed, the more the light slows down and bends, resulting in a higher RI. These fundamental principles are what make gem identification a consistent and reliable science.
Common Questions About Gem Identification
As you begin your journey with a gemstone chart, a few related questions are likely to arise. Addressing these can help you become more proficient and avoid common pitfalls.
What Tools Do I Need for Gemstone Identification?
While a chart is your map, you need the right tools to gather the clues. For a serious hobbyist, a few basic instruments are essential. The most important is a 10x jeweler's loupe, a small magnifying glass used to inspect the gem's surface for blemishes and look inside for inclusions (internal characteristics), which can offer important clues.
To measure the key properties on the chart, you'll need a refractometer to find the Refractive Index and a scale for determining Specific Gravity. A Mohs hardness test kit, with its series of hardness points, is necessary for accurately testing hardness. Other helpful tools include a dichroscope to check for pleochroism, a Chelsea filter to help distinguish certain green and blue stones, and a good light source. Starting with a loupe and a hardness kit is a great first step before investing in more expensive equipment.
Common Mistakes to Avoid When Identifying Gemstones
One of the biggest mistakes beginners make is relying solely on color for identification. As mentioned, many gems share colors, and a single gem type, like sapphire, can come in almost every color of the rainbow. Always use color as a starting point, not a conclusion. Another common error is performing improper hardness tests. Scratching a gem aggressively or in a visible spot can damage it permanently. Always test on a small, inconspicuous area near the girdle (the edge of the stone).
Finally, don't jump to conclusions based on a single test. Professional identification relies on a process of elimination using multiple data points. If your stone's RI matches a ruby but its Specific Gravity is completely wrong, you need to re-test or consider other possibilities. Use the chart to see which properties overlap and which ones rule out a specific identity. Patience and methodical testing are key.
Can a Chart Identify Synthetic or Treated Gemstones?
This is a more advanced area where standard charts can be less helpful. A synthetic (lab-grown) gem often has the exact same chemical, physical, and optical properties as its natural counterpart. A chart will lead you to the correct identification of the mineral—for example, it will tell you a stone is a corundum (ruby or sapphire)—but it can't tell you if it was grown in a lab or mined from the earth.
Identifying synthetics and treatments (like heat treatment or fracture filling) often requires more advanced gemological tools and techniques. This typically involves using a high-powered microscope to look for specific types of inclusions that are characteristic of natural or synthetic growth processes. While a standard chart is the foundation, determining a gem's origin and whether it has been treated is the next level of gemology that often requires professional expertise and equipment.
Conclusion
A gemstone identification chart is an indispensable resource for anyone interested in the world of gems. By systematically observing and testing a stone for key properties like color, Refractive Index, Specific Gravity, and hardness, you can cross-reference your findings with the chart's data. This methodical process of elimination allows you to move from a general observation to a confident identification. While it takes practice to become proficient, learning to use this tool properly opens up a new level of understanding and appreciation for the beautiful and complex minerals around us.