Essential Tips for Achieving Crystal Clear Car Windows
Getting that perfectly clear, streak-free finish on your car windows can be surprisingly frustrating. The secret isn't just about the spray you use; it's a combination of the right tools, a specific technique, and knowing which common products to avoid.
The Ultimate Guide to Flawless Car Glass
Achieving perfectly clean, streak-free car windows is often the final touch that makes a vehicle look truly detailed. Yet, it’s a task that frustrates many drivers, leaving behind annoying streaks and haze that can impair visibility. The secret isn't in a magic product, but in the right technique and materials. Following these proven tips will help you get that invisible-glass look every single time.
1. Gather the Right Tools for the Job
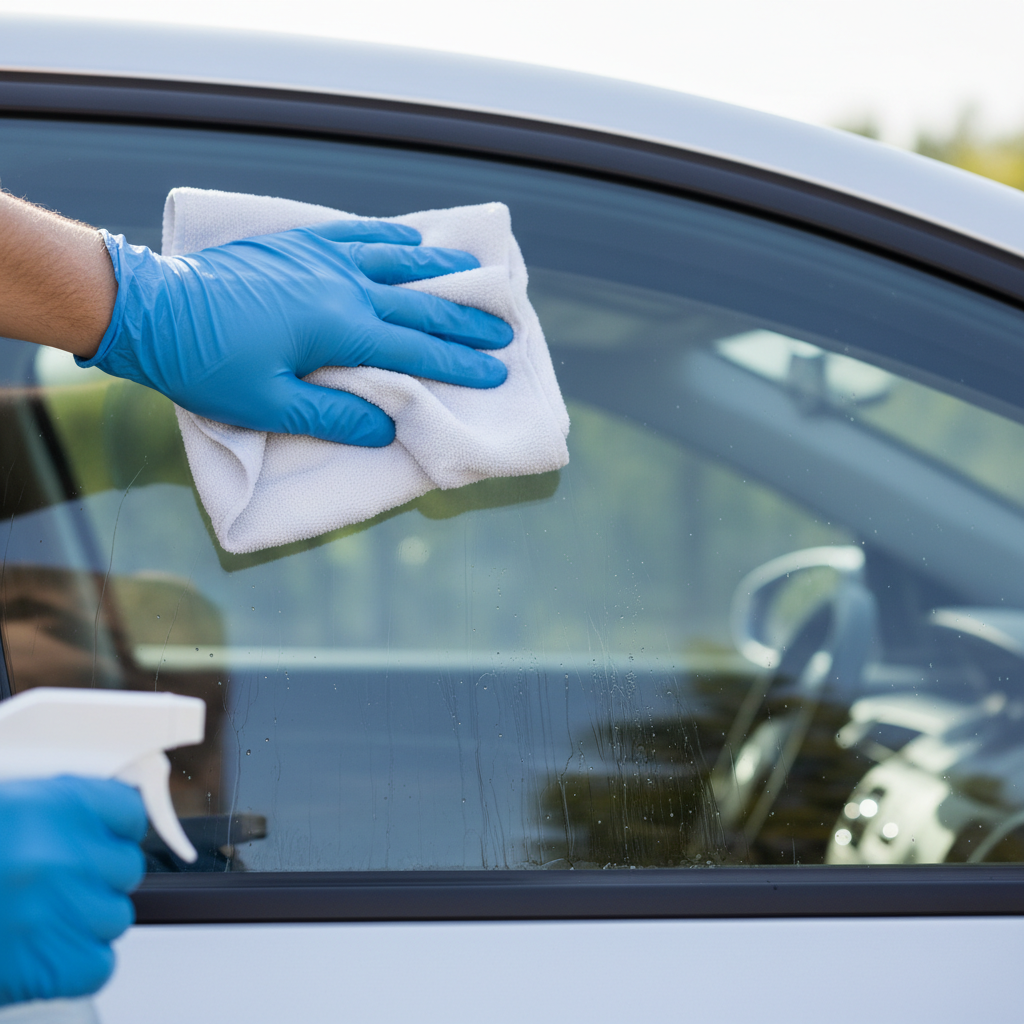
Before you even think about spraying a cleaner, make sure you have the proper tools. The most crucial items are microfiber towels—plural. You will need at least two high-quality, clean towels per window section (inside and out). One towel will be used for the initial cleaning and scrubbing, and the second, completely dry towel will be for the final buff and polish. Using a single towel for both steps, or using dirty towels, is the number one cause of streaks as you are essentially just moving dirt around.
Beyond towels, consider a small bucket with clean water for rinsing your primary cleaning towel if the windows are especially dirty. A detailing brush with soft bristles can also be invaluable for cleaning out the tight corners and edges of the windshield and rear window where grime accumulates.
2. Choose Your Cleaner Wisely (or Make Your Own)
The market is flooded with automotive glass cleaners, and most work well. The key is to select a product that is ammonia-free. Ammonia can damage window tint, dry out rubber seals, and harm interior plastics and vinyl on your dashboard if overspray occurs. Many professional detailers even use a simple, effective homemade solution: a 50/50 mix of distilled water and isopropyl alcohol (70%) with a couple of drops of dish soap. Distilled water is important as it contains no minerals, which can leave behind spots and deposits on the glass.
Avoid using common household glass cleaners like Windex, as most contain ammonia. While they work wonders on mirrors at home, they are too harsh for the sensitive materials in your vehicle's interior and can be detrimental to window tint film over time.
3. Work in the Shade, Not in Direct Sunlight
This is one of the most important yet often overlooked rules of cleaning car glass. When you clean windows in direct sunlight or when the glass is hot to the touch, the cleaning solution will evaporate almost instantly. This rapid drying doesn't give you enough time to properly wipe away the cleaner and the dirt it has lifted, leading to stubborn streaks and spots that are difficult to remove.
By working in a garage or a shaded area, you ensure the glass stays cool and the cleaner remains in its liquid state long enough for you to work effectively. This gives you ample time to wipe the surface thoroughly and follow up with a dry buffing towel for a flawless finish.
4. Use a Specific Wiping Pattern
A simple professional trick can save you a lot of frustration when trying to locate the source of a streak. Use a different wiping direction for the interior and exterior of the glass. For example, wipe with vertical strokes on the outside of the windows and with horizontal strokes on the inside.
After you’re done, if you spot a streak, you’ll immediately know which side it’s on based on its orientation. A vertical streak means the issue is on the outside, while a horizontal streak means you need to re-buff the inside. This small change in technique eliminates the guesswork and helps you perfect your results much faster.
5. Don't Neglect the Top Edge of the Glass
Have you ever cleaned your side windows perfectly, only to see a grimy line appear at the top the next time you roll them down? This happens because dirt and oil accumulate on the very top edge of the glass that sits inside the rubber window seal. It’s an easy spot to miss.
To clean it properly, simply roll your windows down about an inch or two. This will expose the dirty top edge. Carefully spray your cleaner on your towel (not directly on the edge, to avoid getting cleaner inside the door panel) and wipe this strip clean. Doing this for all roll-down windows ensures a completely clean surface.
6. Address the Interior Haze First
The inside of your car's windows, particularly the windshield, often develops a stubborn, oily film. This haze is caused by "off-gassing" from the plastics and vinyl materials on your dashboard and interior panels, which release chemicals that deposit onto the glass. This film is a major cause of glare, especially when driving at night or into the sun.
Tackling this requires a bit more effort than just spraying and wiping. Use your first microfiber towel with a good amount of cleaner and apply firm pressure to scrub the glass and break down the film. You may need to do this two or three times, flipping your towel to a clean side each time, before the haze is fully removed. Once it is, you can proceed with the final buffing pass with your dry towel.
7. Clean Your Wiper Blades
You can have the cleanest windshield in the world, but if your wiper blades are dirty, they will smear grime right back across the glass the first time it rains. Dirty wiper blades accumulate road grit, dust, and pollen, which not only obstructs your view but can also permanently scratch your windshield over time.
Cleaning them is simple. Take a clean microfiber towel, dampen it with your glass cleaner or some washer fluid, and gently wipe down the length of each rubber blade. You will likely be surprised by the amount of black residue that comes off. Do this regularly to maintain clear vision during wet weather and extend the life of your wiper blades.
8. Use a Clay Bar for Stubborn Exterior Contaminants
Sometimes, the exterior of your glass can be contaminated with bonded materials that washing alone won't remove. These can include tree sap, hard water spots, or industrial fallout. You can feel them as a rough texture when you run your fingers over the clean glass. The best way to remove these is with a detailing clay bar.
After washing the window, spray it with a clay lubricant (or a soapy water mix) and gently glide the clay bar back and forth across the surface. The clay will safely pull the embedded contaminants out of the glass, leaving it perfectly smooth and incredibly clear. This step makes a dramatic difference in both clarity and the effectiveness of your wipers.