Master the Basics of Smartphone Filmmaking: A Practical Guide to Get Started
Ready to turn the powerful camera in your pocket into a filmmaking tool? You’ve come to the right place. This guide breaks down everything you need to get started, from the essential gear and shooting techniques to the best apps for editing your footage on the go.
Your Comprehensive Guide to Mastering Smartphone Filmmaking
The device in your pocket is more than just a phone; it's a powerful cinema camera capable of producing stunning, high-quality video. Learning smartphone filmmaking isn't about buying the most expensive gear, but about mastering the fundamentals of visual storytelling and understanding how to leverage the tool you already own. This guide will walk you through the essential steps to transform your everyday video clips into compelling, cinematic creations.
Step 1: Master Your Smartphone's Native Camera App
Before you even consider downloading third-party apps, your first mission is to explore every single feature of your phone's default camera application. Modern smartphones, whether iOS or Android, come packed with an impressive suite of controls that are often overlooked. Dive into the settings and learn how to manually adjust focus, exposure, and white balance. Locking these settings is crucial for consistency. If you let the camera automatically adjust exposure while you're moving, you'll see distracting shifts in brightness that scream "amateur."
Experiment with different frame rates, such as 24fps for a classic cinematic look, 30fps for standard video, and 60fps or 120fps for silky-smooth slow-motion. Understand the difference between optical and digital zoom; always stick to optical zoom or physically move closer to your subject to avoid a significant loss in image quality. Learn how to turn on the grid lines in your camera settings. This simple overlay is an invaluable tool for mastering composition, helping you apply principles like the rule of thirds with ease.
Step 2: Understand the Fundamentals of Cinematography
A great camera doesn't automatically make a great filmmaker. The core of filmmaking lies in understanding the principles of cinematography. These are the universal rules of visual language that apply whether you're using a $50,000 RED camera or your iPhone. Start by learning about the three pillars of exposure: ISO, shutter speed, and aperture. While you can't change the physical aperture on most smartphones, you can control ISO (light sensitivity) and shutter speed using manual camera apps.
Beyond the technical aspects, study composition. Learn about the rule of thirds, leading lines, framing, and creating depth in your shots. Watch your favorite movies and pay close attention to how the director uses different camera angles and movements to evoke emotion. A low-angle shot can make a subject seem powerful, while a high-angle shot can make them appear vulnerable. Understanding this visual language will elevate your work from simple recordings to intentional storytelling.
Step 3: Invest in Essential (and Affordable) Gear
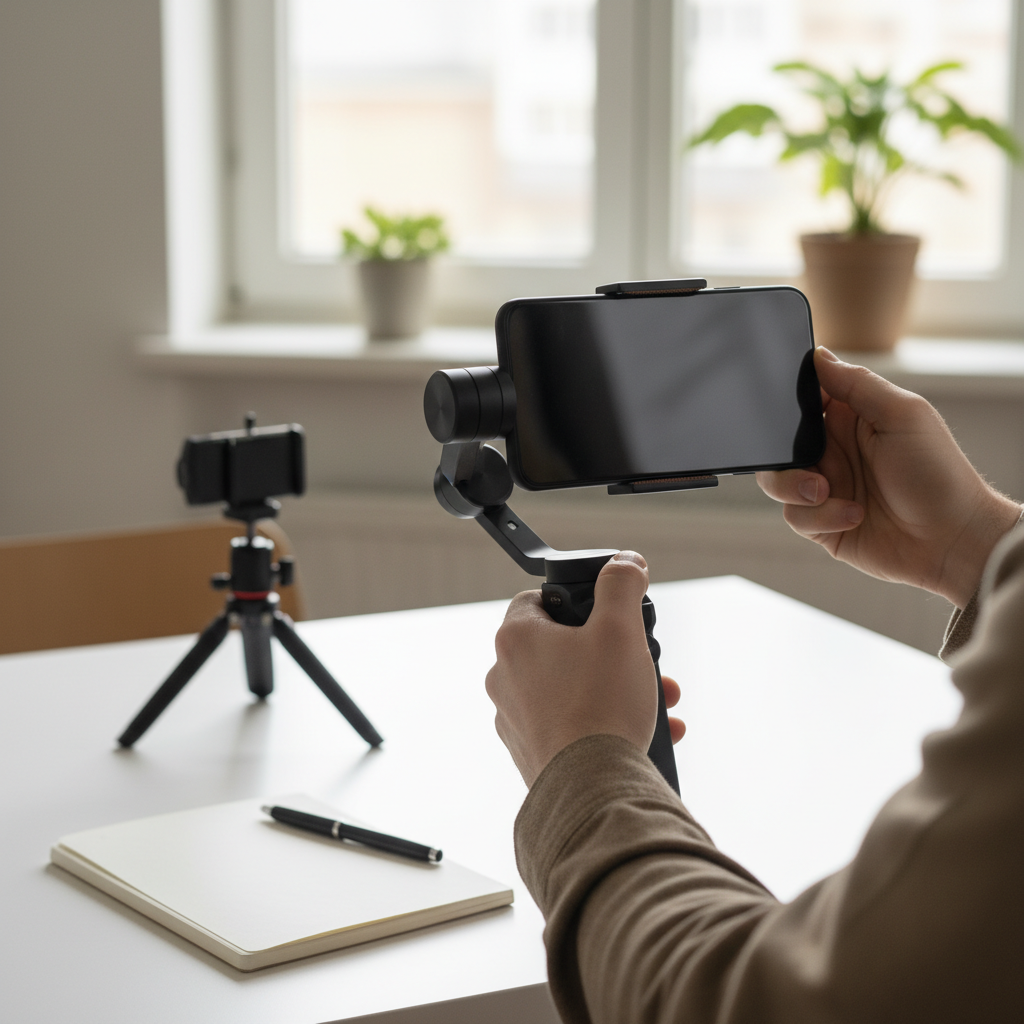
While the phone is your camera, a few key accessories can dramatically improve the production value of your videos. The single most important piece of gear is arguably a stabilizer. Shaky footage is the number one sign of an amateur video. At a minimum, get a small tripod with a phone mount. This is essential for static shots, interviews, and time-lapses.
To take it a step further, invest in a handheld gimbal. A gimbal is a motorized stabilizer that uses sensors and motors to keep your phone level and smooth, even while you're walking or running. This one piece of equipment is responsible for creating those gliding, cinematic shots that were once only possible with expensive Hollywood equipment. Other useful accessories include a set of clip-on lenses (like wide-angle or anamorphic) to change your field of view and a portable power bank to keep your phone charged during long shoots.
Step 4: Learn to Control and Shape Light
Lighting is everything in filmmaking. It sets the mood, directs the viewer's attention, and separates a flat, boring image from a dynamic, three-dimensional one. The best and most affordable light source is the sun. Practice shooting during the "golden hour"—the period shortly after sunrise or before sunset—when the light is soft, warm, and creates beautiful long shadows. Avoid shooting in harsh midday sun, which creates unflattering, hard shadows on your subjects.
When shooting indoors, learn the basics of three-point lighting: a key light (your main light source), a fill light (to fill in shadows), and a backlight (to separate your subject from the background). You don't need expensive studio lights to achieve this. You can use a bright window as your key light, a white foam board or reflector to bounce light back as your fill, and a simple desk lamp placed behind your subject as a backlight. Understanding how to shape and control light is a skill that will instantly make your videos look more professional.
Step 5: Master Your Audio Recording
Viewers are often more forgiving of mediocre video quality than they are of bad audio. The built-in microphone on your smartphone is designed to pick up sound from all directions, which means it will also capture wind, background noise, and echo. This is rarely ideal for filmmaking. The most significant upgrade you can make to your productions is investing in an external microphone.
For interviews or vlogging, a simple lavalier microphone (a small mic that clips onto a shirt) that plugs into your phone's headphone jack or charging port is an excellent and affordable option. For capturing more general sound or for run-and-gun situations, a small shotgun microphone mounted on your phone rig can isolate sound coming from the direction the camera is pointing. Always monitor your audio with headphones while recording if possible. Clean, crisp audio is non-negotiable for a professional-feeling video.
Step 6: Learn Basic Video Editing on Your Phone
The filmmaking process doesn't end when you stop recording. Editing is where you assemble your shots, craft the narrative, and finalize the look and feel of your film. The great news is that you don't need a powerful computer to get started. There is a wide range of powerful and intuitive video editing apps available directly on your smartphone.
Apps like CapCut, LumaFusion (iOS), or Adobe Premiere Rush provide timeline-based editing, allowing you to trim and arrange clips, add transitions, overlay text, and adjust colors. Start with the basics: learn how to make clean cuts, create a simple sequence, and layer music or sound effects to enhance the mood. As you get more comfortable, you can explore color grading to give your film a consistent and cinematic look. The ability to shoot, edit, and publish all from one device is one of the biggest advantages of smartphone filmmaking.
The Rise of Mobile Cinema: A Filmmaking Revolution
Just a couple of decades ago, the idea of shooting a feature film on a device that fits in your pocket would have been pure science fiction. Filmmaking was an exclusive club, gated by the high cost of cameras, lenses, film stock, and processing. The digital revolution began to democratize the process, but it was the smartphone that truly put a movie studio in everyone's hands. Early smartphone cameras were low-resolution and struggled in anything but perfect lighting. They were novelties, not serious creative tools.
However, with each new generation, the technology has advanced at an exponential rate. Computational photography, powered by sophisticated software and powerful processors, allows phones to achieve visual effects like cinematic blur (bokeh) and high dynamic range (HDR) that were once the exclusive domain of large-sensor cameras. Sensor size has increased, low-light performance has improved dramatically, and the introduction of multiple lenses (ultra-wide, wide, and telephoto) provides filmmakers with creative flexibility. This technological leap has empowered a new generation of storytellers to create and distribute high-quality content without the traditional financial barriers, leading to an explosion of creativity in independent film, documentary, and online content creation.
Common Questions About Smartphone Filmmaking
What are the best apps for smartphone filmmaking?
While your native camera app is a great starting point, dedicated filmmaking apps unlock a new level of manual control. The undisputed industry standard is FiLMiC Pro. This app gives you granular control over everything from frame rates and bitrates to manual focus pulling and zebra stripes for exposure monitoring. It essentially turns your phone's camera interface into that of a professional cinema camera, making it a favorite of serious mobile filmmakers.
For users looking for a powerful yet slightly more accessible option, apps like Protake or Blackmagic Camera (iOS) offer professional features in user-friendly packages. On the editing side, LumaFusion is a multitrack video editor for iOS that rivals many desktop programs in terms of capability. For a free and incredibly versatile option on both platforms, CapCut and DaVinci Resolve for iPad offer powerful editing tools, color correction, and effects, making them fantastic for both beginners and experienced editors.
How do I get smooth, stable shots with my phone?
Achieving stable footage is crucial for a professional look. The most basic technique is to use your body as a stabilizer. Hold the phone with two hands, tuck your elbows into your chest, and bend your knees slightly. When you need to move, practice the "ninja walk" by rolling your feet from heel to toe to minimize the up-and-down motion of your steps. Whenever possible, brace yourself against a wall, a tree, or a table to add an extra point of contact and increase stability.
However, for true cinematic smoothness, hardware is key. A simple tripod is essential for any locked-down shot. For moving shots, a 3-axis gimbal is the best investment you can make. Gimbals use motors to counteract your movements, resulting in gliding, floating shots that look incredibly professional. Even a small, affordable gimbal can make a world of difference and is often the single piece of gear that most dramatically elevates the quality of smartphone video.
Can you really make a professional movie with a smartphone?
Absolutely. The idea that a "real" movie requires a specific type of camera is outdated. Several critically acclaimed feature films have been shot entirely on smartphones, proving that story and technique are far more important than the gear itself. Director Sean Baker's 2015 film Tangerine was shot on an iPhone 5S and became a Sundance Film Festival sensation. Steven Soderbergh, an Oscar-winning director, has shot multiple feature films on iPhones, including Unsane (2018) and High Flying Bird (2019).
The success of these films demonstrates that what truly matters is the filmmaker's vision. They used the smartphone's small size to their advantage, capturing intimate and raw perspectives that would be difficult with a larger camera rig. They combined this with strong storytelling, professional sound design, expert color grading, and solid acting. The camera is just one tool in the filmmaking process; the smartphone has proven to be an incredibly viable and artistically interesting one.
Conclusion
Learning smartphone filmmaking is an accessible and rewarding journey. It's about shifting your mindset from seeing your phone as a simple recording device to viewing it as a capable cinematic tool. By mastering your camera's settings, understanding the fundamentals of lighting and composition, prioritizing clean audio, and practicing your editing skills, you can create videos that are compelling, professional, and uniquely yours. The most important step is to start shooting, experimenting, and telling the stories you want to tell.