Affordable RV Shower Upgrades: Ideas to Refresh Your Bathroom Without Breaking the Bank
Looking for costeffective RV Shower Upgrade Ideas On A Budget? Don't let limited funds stop your bathroom renovation dreams. Discover clever DIY techniques and smart sourcing tips to enhance your living space. We explore innovative ways to achieve a spalike feel without breaking the bank.
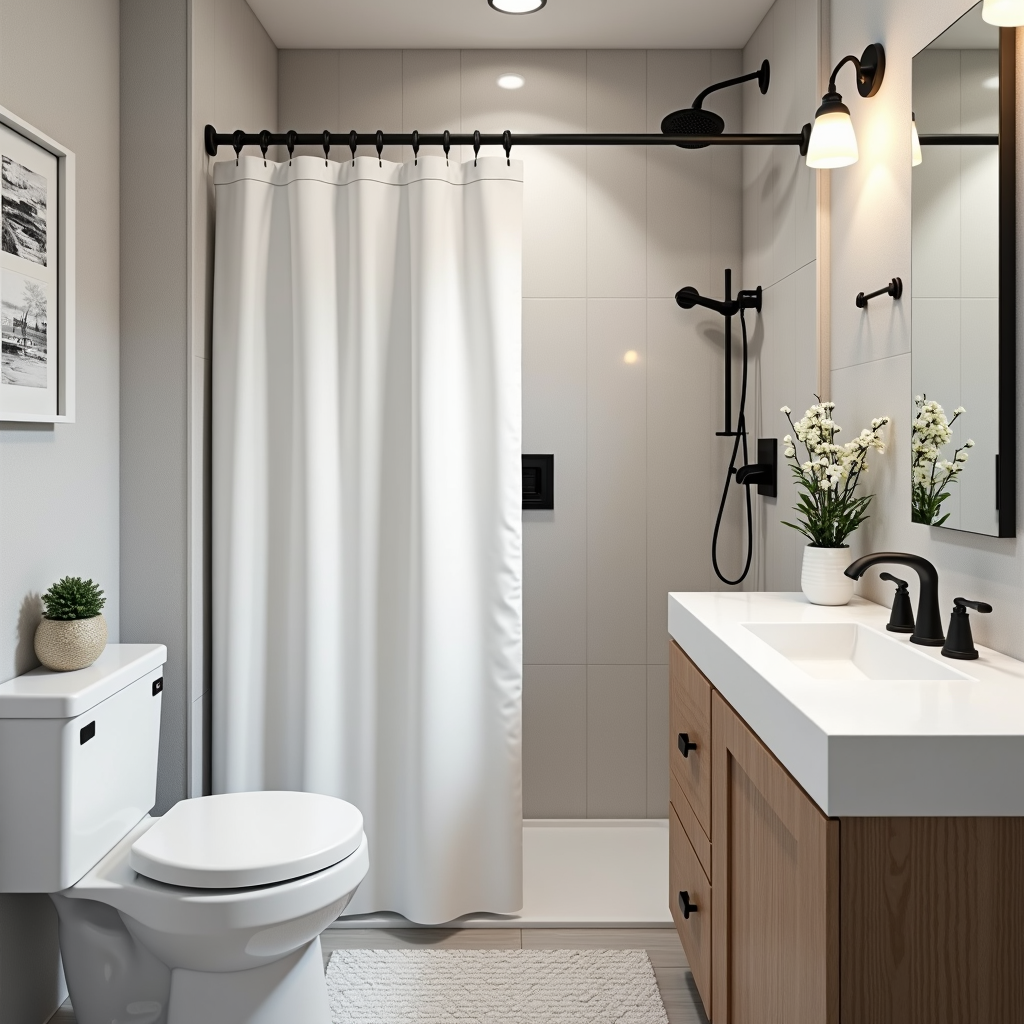
Beyond the Bubble Shower: Maximizing Function and Style on a Dime
Thinking about giving your RV a much-needed spa makeover, but the sheer cost of professional installations and high-end fixtures has you pulling your hair out? You are not alone. RV upgrades, especially in wet areas like the shower, can feel prohibitively expensive. The good news is that a stunning, functional, and spa-like shower experience doesn't require a gut renovation or thousands of dollars. Success is about strategic upgrades, smart material swaps, and embracing the DIY spirit. This comprehensive guide dives deep into how you can dramatically improve your shower’s aesthetics, functionality, and comfort without emptying your savings account.
Understanding the Budget Constraint: Where to Cut Corners Wisely
When aiming for a budget upgrade, the primary goal is to focus your spending on the elements that offer the highest return on investment (ROI) in terms of both visual appeal and daily usability. Instead of tackling the structural components (which often require costly labor and certified tradespeople), focus on the visible and tactile elements. These include fixtures, tiling, shower curtain/door hardware, and finishing touches. A few smart swaps can make the entire space feel brand new.
Fixture Focus: The Biggest Impact for the Least Cost
The showerhead and faucet hardware are arguably the most critical areas for impact. They are the focal points of the shower and often dictate the perceived quality of the entire space. An old, yellowing chrome fixture can instantly downgrade the feel of a brand new tub, while a modern upgrade can revitalize an entire unit.
- Switching the Showerhead: This is perhaps the easiest and cheapest upgrade. High-efficiency, low-flow rain showerheads are available for far less than you might think. Modern heads often use pressure regulators and specialized polymer materials, making them durable and efficient. Look for models that boast a high GPM (Gallon Per Minute) rating while staying within water conservation guidelines.
- Faucet and Valve Trim Kits: Don't replace the entire valve body—buy the trim kit. These kits are designed to fit over your existing plumbing connections and allow you to update the visual style (e.g., moving from dated brass to sleek matte black or brushed nickel) without requiring plumbers to cut into the wall.
- Water Pressure Boosters (Use with Caution): While a reliable pressure booster can dramatically improve the spray experience, remember that these units must be sized correctly for your RV's plumbing system. Consult a professional or detailed manual before installation to ensure safety and effectiveness.
The Art of Affordable Tiling: Making Walls Look High-End
Tiling is usually the most daunting and expensive part of a shower renovation. However, modern materials and techniques offer fantastic budget alternatives that mimic the look of natural stone or high-end porcelain without the price tag. The key principle here is to use the right material for the job, accepting that the cheapest option might still look premium.
Tile Alternatives: Beyond the Grout Grind
The biggest budget sink in tiling is often the labor and the specialized materials. Here are three smart alternatives:
- Peel-and-Stick Waterproof Tiles: For a true beginner or those with limited time/tools, high-quality, mold-resistant, waterproof adhesive tiles are a game-changer. Modern versions offer realistic textures and colors, making them suitable for wet areas. These are perfect for a dramatic aesthetic change without the commitment of traditional mortar and grout.
- Large Format Panels (Faux Tile): Instead of tiling the entire wall with small, individual tiles, consider using large-format, waterproof panels (sometimes marketed as solid surfaces or panel showers). These are pre-finished, dramatically reducing grout lines—which are often the main source of discoloration and difficulty—and providing a seamless, luxury look.
- Acrylic or Fiberglass Shower Liners: If DIY difficulty is a major concern, a modern, solid-surface acrylic liner can provide a beautiful, uniform finish that is inherently waterproof and easy to clean. While it lacks the textural interest of tile, its seamless nature is a major plus in tight RV spaces.
Grout and Sealing: The Details That Make or Break the Look
Even if you purchase beautiful, high-quality tiles, the longevity and visual appeal hinge on the grout. Don't underestimate the power of quality sealant and grout color. A white tile with natural-colored grout looks dated; matching the grout color closely to the tile or using a darker, uniform color can provide a sophisticated, monochromatic, and modern appearance.
Enhancing Functionality: Beyond Looks
A truly great shower isn't just beautiful; it has to work perfectly within the confines of an RV. Budget upgrades shouldn't compromise comfort or efficiency.
Water Management and Drainage Solutions
In a smaller, enclosed RV space, drainage issues can quickly lead to mildew and poor performance. Look into optimizing the floor gradient. If the shower pan is difficult to adjust, utilize non-slip, highly durable waterproof mats. While these don't solve structural drainage issues, they vastly improve safety and provide an immediate aesthetic improvement. Modern rubber or composite mats are available in stylish patterns and colors that blend seamlessly with the shower area.
Storage and Organization Hacks
RV showers often suffer from cramped space. Utilize vertical space with budget-friendly shelving.
- Over-the-Door Storage: Install simple, adjustable hooks or inexpensive over-the-door shower organizers. These keep shampoo bottles and necessary items off the shower floor and counter area, making cleanup easier and maximizing usable floor space.
Niche Kits: If your walls allow, consider DIY or simple pre-fab shower niche kits. These built-in, recessed shelves are far superior to hanging caddies because they are fully waterproof, permanently installed, and do not take up visible shelf space.
Material Selection and Color Psychology on a Budget
When painting, tiling, or choosing fixtures, color plays a massive role in how spacious and luxurious the shower feels. On a budget, embracing a limited, cohesive palette is your best friend.
The Power of Neutrality
Bright, crisp whites and various shades of gray are universally flattering and make small spaces feel significantly larger. They are the easiest colors to work with, allowing you to make statement upgrades (like a gorgeous patterned tile floor) without the fear of overwhelming the entire space.
Dark vs. Light Materials
Using dark materials (like matte black fixtures or dark slate-look tile) in a small RV shower can make the space feel dramatic and cozy, but it also requires excellent lighting to prevent the area from feeling too confined. Conversely, maximizing light with light-colored tiles and fixtures will make the space feel open and expansive. The ultimate choice depends on the size and existing natural light of your specific RV unit.
Incorporating Smart Technology (Without the Sticker Shock)
Modern technology doesn't have to mean a bespoke, custom-installed system. There are smart, low-cost ways to enhance the user experience.Consider adding an inexpensive, battery-operated ambient light strip (often color-changing LEDs) near the showerhead or on the niche shelves. These lights not only provide excellent task lighting for shaving or applying soap but also add a modern, spa-like ambiance at night. This is a high-impact, low-cost tech upgrade.
The DIY Mindset: Tools and Safety First
While much of this guide focuses on cost-saving hacks, safety must remain paramount. If you are tackling tiling or plumbing, always start with a thorough assessment of your skill level. For electrical work or full plumbing replacement, always hire a professional. For cosmetic updates like fixture replacement, peel-and-stick tiles, or painting, taking the reins yourself can save hundreds of dollars in labor costs.When sourcing materials, always check local RV supply yards, which often carry discounted or surplus fixtures and tile samples. Shopping during "renovation sale" cycles can yield exceptional deals. By adopting a methodical, prioritized approach—focusing first on fixtures, then on coverings (tiles/panels), and finally on organization—you can achieve a truly five-star, custom-built shower experience that respects both your budget and your sense of style.